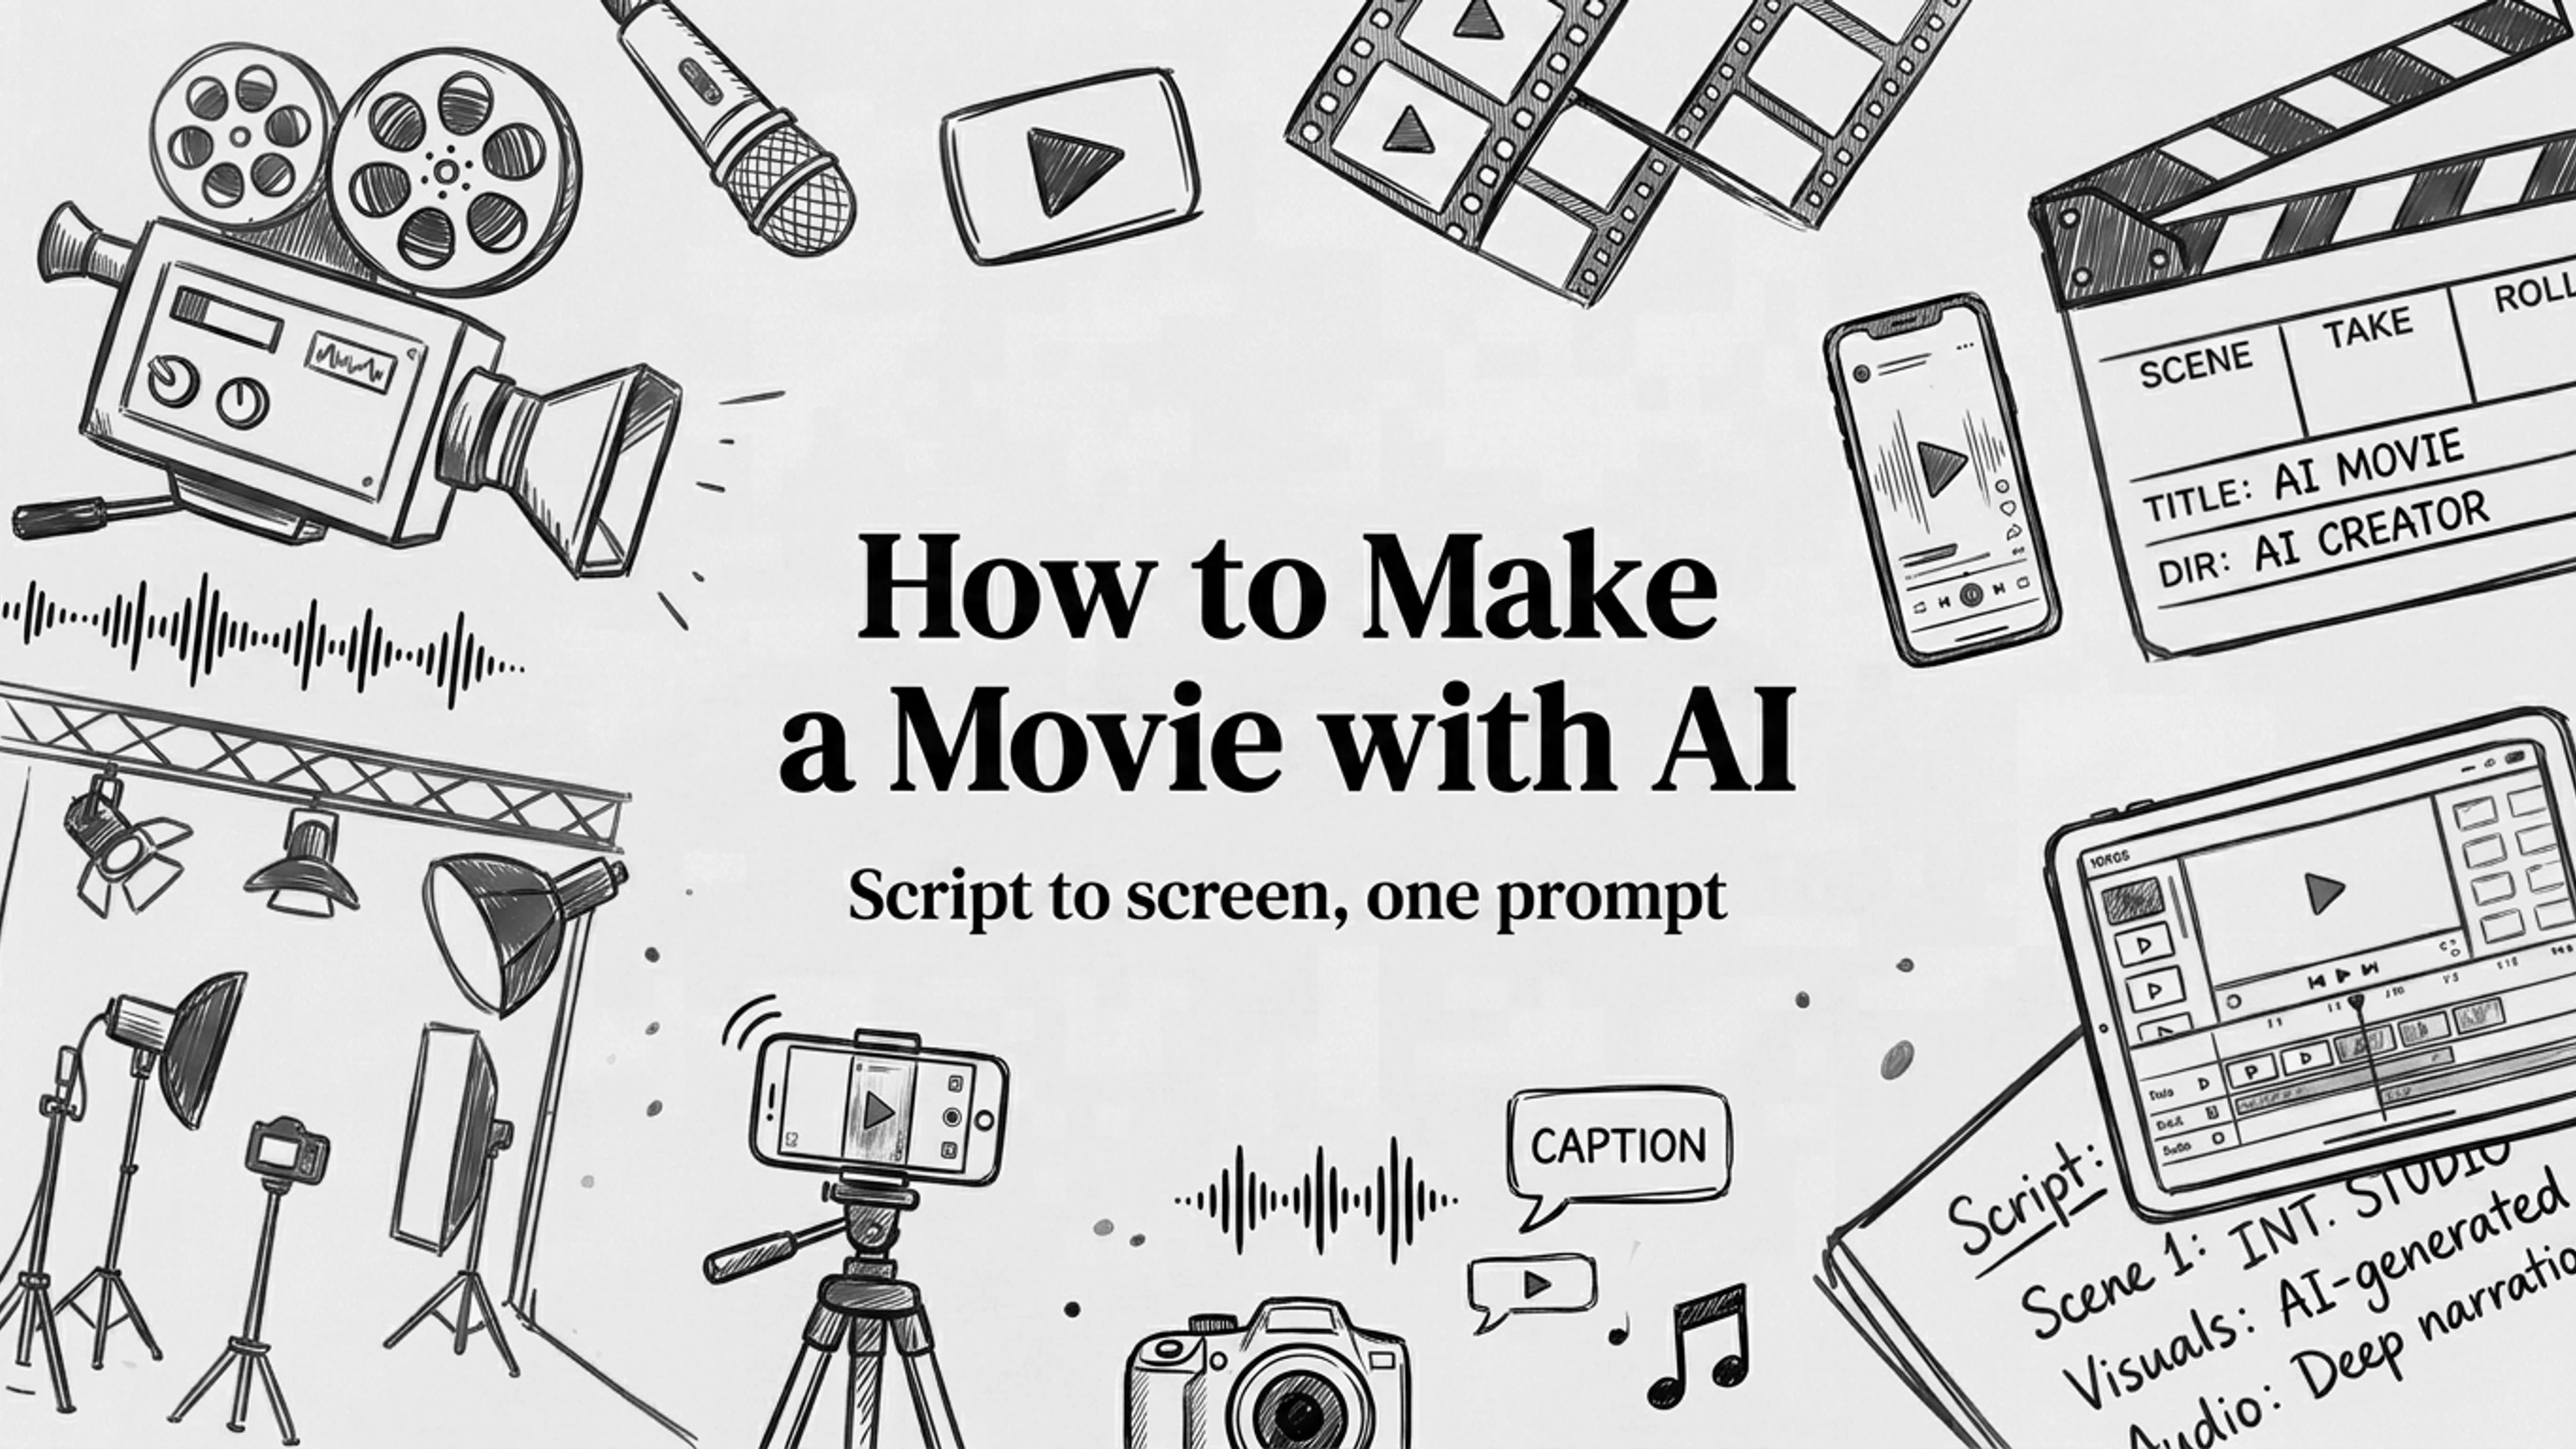
Making a film used to mean a crew, a camera package, locations, and a post-production budget most people never get near. That barrier is gone. You can now make a movie with AI on a laptop, turning a written idea into moving scenes, voiceover, music, and captions without ever pointing a lens at anything.
This guide walks you through the full pipeline the way a working creator actually does it: plan the story, write a tight script, generate your shots from prompts, keep your characters and style consistent, then layer sound and cut it into something that feels intentional.
You do not need festival ambitions to get value here. Whether you are building a two-minute short, a movie trailer, or a proof-of-concept for a larger project, the workflow is the same. Let's build it.
Table of Contents
- What "AI movie making" means today
- Plan your story, script, and shot list
- Step by step: from script to finished movie
- Getting cinematic quality
- Voiceover, music, and sound
- Common pitfalls to avoid
- Export, distribution, and your pre-render checklist
<a id="what-ai-movie-making-means-today"></a>
What "AI movie making" means today
An AI movie maker is not one button that spits out a finished film. It is a stack of models working together: a text-to-video engine that turns written prompts into moving shots, a voice model that reads your dialogue and narration, a music generator (or library) that scores the mood, and a captioning layer that burns in titles and subtitles.
When you make a movie with AI, your job shifts from operating a camera to directing the machine. You describe what each scene should look like, feel like, and sound like, then you assemble the pieces into a sequence that tells a story. The craft is still there. It has just moved upstream into writing, art direction, and editing.
A few things to set expectations early. AI shots are generated in short clips, usually a handful of seconds each, so a "movie" is a series of these stitched together. Continuity is something you engineer, not something you get for free. And the difference between a clip that looks like a tech demo and a scene that looks like cinema comes down almost entirely to how you plan and prompt. Platforms like ClipNova's Movie Maker bundle these steps so you go from a script or idea to a multi-scene video with voiceover, music, and captions in one flow, but the thinking below applies wherever you build.
<a id="plan-your-story-script-and-shot-list"></a>
Plan your story, script, and shot list
Skip planning and you will burn hours regenerating shots that never fit together. Ten minutes of structure up front saves you an afternoon of cleanup.
Start with a one-line premise
Before a single prompt, write your story in one sentence: who wants what, and what stands in the way. "A lighthouse keeper races a storm to signal a ship that has lost its way." That line is your compass. Every scene you generate should push that idea forward, and anything that does not is a distraction you can cut before you have spent a second rendering it.
From the premise, expand into a simple three-beat structure: a setup that establishes the world and the character, a turn where the central problem hits, and a resolution. You do not need a screenplay. You need a spine. Even a 90-second AI short lands harder when it has a beginning, a middle, and an end rather than a loop of pretty but disconnected clips.
Break it into a shot list
Now translate beats into shots. A shot list is just a table in your head or on paper: for each moment, note the subject, the framing (wide, medium, close-up), the action, and the mood. This is the single highest-leverage habit in AI filmmaking, because each shot becomes one prompt.
Aim for variety in framing. Cutting from a wide establishing shot to a tight close-up creates rhythm and reads as film language; three medium shots in a row read as a slideshow. Decide your pacing here too: fast, punchy cuts for tension, longer holds for atmosphere. When your shot list is done, you are no longer staring at a blank prompt box. You are working down a list.
<a id="step-by-step-from-script-to-finished-movie"></a>
Step by step: from script to finished movie
Here is the end-to-end build. Follow it in order the first few times, then adapt.
-
Write the script. Turn your beats into actual lines: narration, dialogue, and a short visual description for each shot. Keep sentences short and speakable; voice models read tight prose far better than long clauses.
-
Generate scenes and shots from prompts. Take each line of your shot list and turn it into a detailed prompt: subject, action, setting, camera framing, lens feel, lighting, and mood, all in one description. Generate each shot, review it, and regenerate the ones that miss. Working shot by shot beats trying to describe an entire movie in a single prompt, which almost never holds together. A dedicated Text to Video tool is the fastest way to iterate on individual shots.
-
Keep characters and style consistent (details below) so your protagonist and your look survive from the first shot to the last.
-
Add voiceover, dialogue, and music. Feed your script to a voice model for narration or character lines, then choose a music bed that matches the emotional arc. Get your timing roughly right here so picture and sound were built to fit each other rather than forced together later.
-
Cut it together. Drop your shots onto a timeline in story order. Trim each clip to its strongest moment, tighten the gaps, and match cuts to the beat of the music or the rhythm of the narration. This is where a pile of clips becomes a movie. Remove anything that drags, even if you liked generating it.
-
Add captions and titles. Burn in a title card, name your chapters or scenes if the format calls for it, and add subtitles for dialogue and narration. Captions are not optional on social feeds where most viewers watch muted, and a clean title sequence instantly raises perceived production value. A Subtitle Generator can transcribe and time your captions automatically so you are not typing them by hand.
Running this inside ClipNova's Movie Maker collapses steps 4 through 6, since voiceover, music, and captions are generated alongside the scenes rather than bolted on afterward.
Keep characters and style consistent
Consistency is where most first attempts fall apart. Your hero has brown hair in shot one and black hair in shot four; the color grade jumps from warm to cold between cuts. Fix this deliberately.
Write a reusable character description and paste the exact same wording into every prompt that features that character: age, build, hair, wardrobe, distinguishing features. Do the same for your world with a style block, a short phrase describing the film's look, that you append to every shot, for example "muted teal-and-amber grade, soft anamorphic light, 35mm film grain." Reusing a reference image where your tool supports it locks the look even tighter. Consistency is a discipline of repetition, not luck.
<a id="getting-cinematic-quality"></a>
Getting cinematic quality
The gap between "AI video" and "a film" is closed with a handful of specific choices.
Prompt like a cinematographer. Do not just name the subject; describe the camera. Words like "slow dolly-in," "low-angle wide shot," "shallow depth of field," "backlit golden hour," and "handheld" tell the model how to frame and move, and they are the difference between a static portrait and a shot with intent. Name the lens feel and the light source, not just what is in the frame.
Commit to an aspect ratio before you generate, not after. Use 16:9 for cinematic and YouTube, 9:16 for vertical shorts and reels, and 1:1 only when a platform demands it. Generating in the wrong ratio and cropping later throws away resolution and composition. Decide the frame first and prompt every shot to it.
Respect pacing. Cinematic feel comes as much from rhythm as from any single image. Let establishing shots breathe for a beat or two, cut tense sequences faster, and vary shot length so the edit has a pulse. A movie that holds every clip for the same three seconds feels mechanical no matter how good the individual frames are.
<a id="voiceover-music-and-sound"></a>
Voiceover, music, and sound
Sound is half the movie, and it is the half beginners neglect. A mediocre shot with confident narration and a well-placed music swell plays far better than a gorgeous shot in silence.
For voiceover, pick a voice that fits the tone, warm and measured for a documentary feel, bright and quick for something energetic, and keep your script lines short so the delivery stays natural. Read your narration aloud before you generate it; if you stumble, the model will too. Leave small pauses in the writing so lines land instead of running together.
For music, let the emotional arc lead. A single track can carry a short film if you time your cuts to its build, but a shift in the score at a story turn signals to the viewer that something changed. Keep music under dialogue and narration in the mix so words stay intelligible, and consider ducking the score during your most important lines.
Do not forget the small stuff: a moment of near-silence before a reveal, or a soft ambience under a wide shot, adds a texture that separates finished films from raw exports.
<a id="common-pitfalls-to-avoid"></a>
Common pitfalls to avoid
A few mistakes trip up nearly everyone at first. Knowing them ahead of time saves the most frustrating hours.
Trying to generate the whole movie from one prompt. Models hold a single shot well and a whole narrative poorly. Always work shot by shot.
Ignoring continuity until the edit. If you do not lock character and style descriptions up front, you will discover the mismatches only when you cut, and by then regenerating is expensive. Fix it at prompt time.
Over-holding weak shots because they took effort to generate. The render cost is sunk. If a clip does not serve the story, cut it. A tight 80-second film beats a loose three-minute one every time.
Skipping captions and titles. On muted feeds, uncaptioned dialogue is lost entirely, and a movie with no title card reads as unfinished.
Fixing pacing in your head instead of on the timeline. Watch the full cut start to finish, muted and then with sound, and be honest about where your attention drifts. That drift is where to trim.
<a id="export-distribution-and-your-pre-render-checklist"></a>
Export, distribution, and your pre-render checklist
Export to match where the film will live. Use 1080p or higher for YouTube and landscape players, and export vertical for reels, shorts, and TikTok rather than cropping a horizontal master. Keep a high-quality master file and make platform-specific cuts from it; a 45-second vertical teaser drives people to a longer horizontal version far better than posting the same file everywhere.
For distribution, lead with your strongest three seconds, because that opening decides whether anyone watches the rest. Write a title and description around your target keyword, keep a still or opening frame that reads well as a thumbnail, and post the format each platform actually rewards rather than one master everywhere.
Before you hit final render, run this checklist:
- Story reads clearly with a beginning, middle, and end
- Character look and style are consistent across every shot
- Aspect ratio is correct for the destination platform
- Voiceover is clean, timed, and intelligible over the music
- Music level sits under dialogue and narration
- Captions and titles are present, accurate, and readable
- Pacing has variety; no dead or repeated shots
- Opening three seconds earn the watch
- Exported at the right resolution with a master saved
Work through that list and what you export will feel finished rather than assembled.
You now have the full pipeline: plan the story, write a tight script, generate and keep your shots consistent, layer sound, cut with intent, and export for the platform. The tools do the heavy lifting; the direction is yours. Open ClipNova's Movie Maker, start with your one-line premise, and turn your idea into a movie today. ClipNova plans start at $19/mo, with every plan including the full feature set.
Related reading: How to Make an AI Influencer: The Complete Creator's Guide and How to make faceless content using AI (2026 guide).
Frequently asked
Can you really make a movie with AI?
Yes. An AI movie maker turns a written script or idea into multi-scene video by generating shots from prompts, adding voiceover and music, and burning in captions. You direct the models shot by shot and assemble the results into a story, rather than operating a camera. It is best suited to shorts, trailers, and proofs-of-concept, and the quality depends heavily on how well you plan and prompt each scene.
How long does it take to make an AI movie?
A short one-to-two-minute AI film can be built in an afternoon once you have a plan. Most of the time goes into writing a tight script and shot list, then generating and regenerating individual shots until each one lands. Planning up front and locking your character and style descriptions early is what keeps the process from stretching into days of rework.
How do I keep characters consistent across AI-generated scenes?
Write one detailed character description, covering age, build, hair, and wardrobe, and paste the exact same wording into every prompt that features that character. Add a shared style block describing the film's overall look to each shot, and reuse a reference image where your tool supports it. Consistency comes from disciplined repetition of the same descriptions, not from luck.
Do I need editing experience to make a movie with AI?
No. Platforms like ClipNova's Movie Maker handle scene generation, voiceover, music, and captions in one flow, so you focus on the story rather than technical editing. Basic instincts help, such as trimming clips to their strongest moment and cutting to the beat, but you can produce a polished short film without prior editing software experience.
How much does it cost to make a movie with AI?
ClipNova plans begin at $19/mo, enough to build and test a short film, and higher tiers unlock more generation capacity and features as your projects grow. Compared to traditional filmmaking, with its crew, equipment, and post-production costs, AI movie making is a fraction of the price.