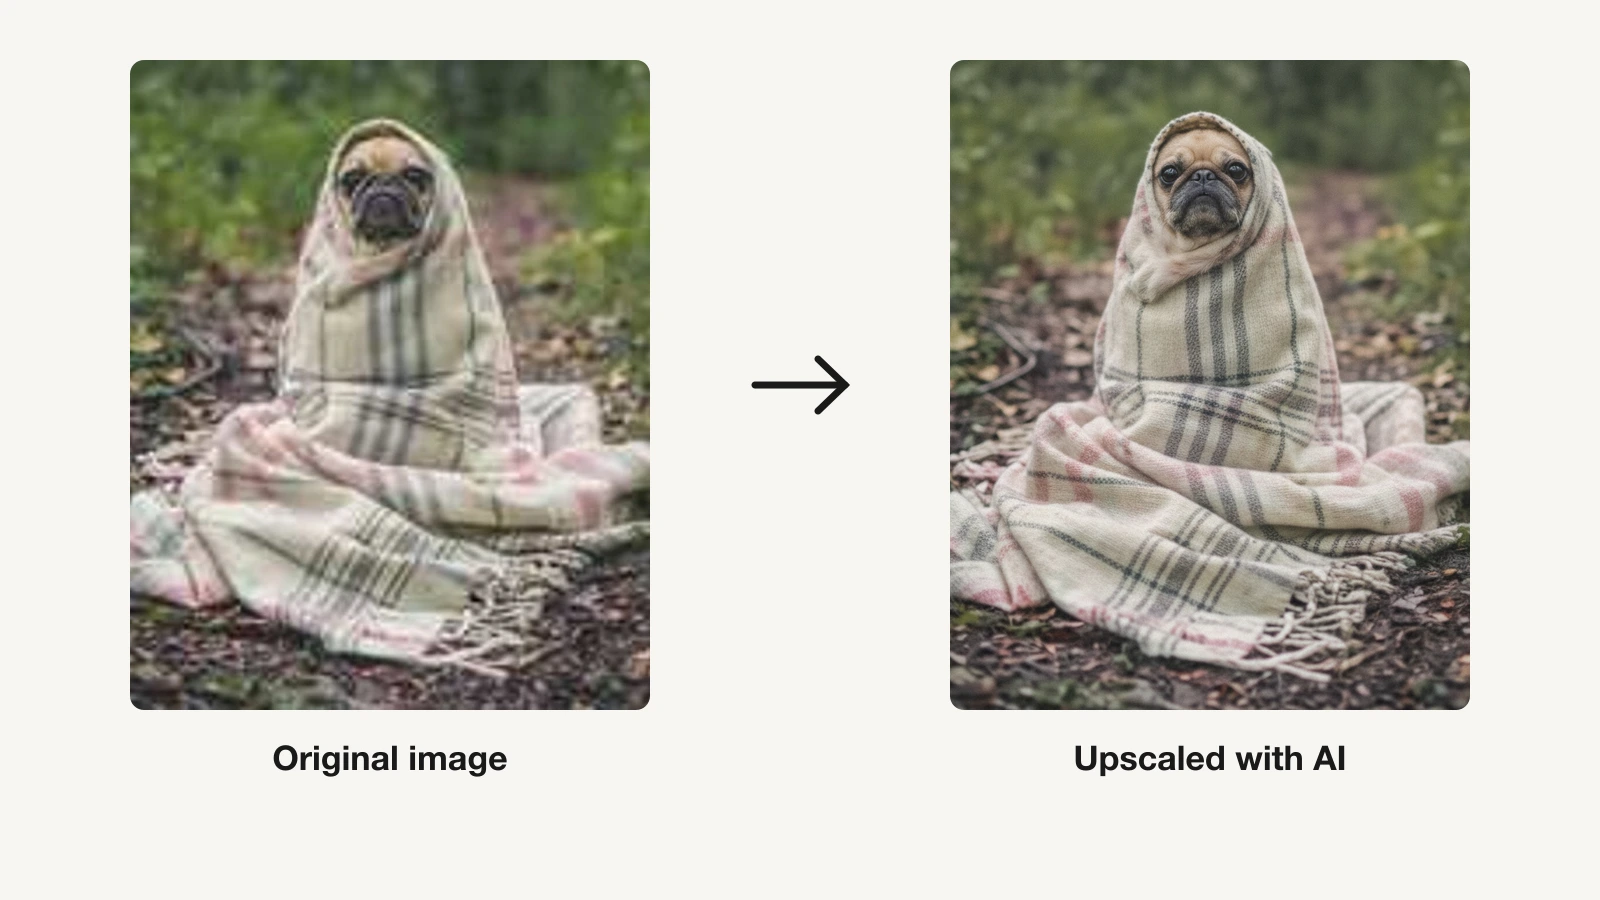
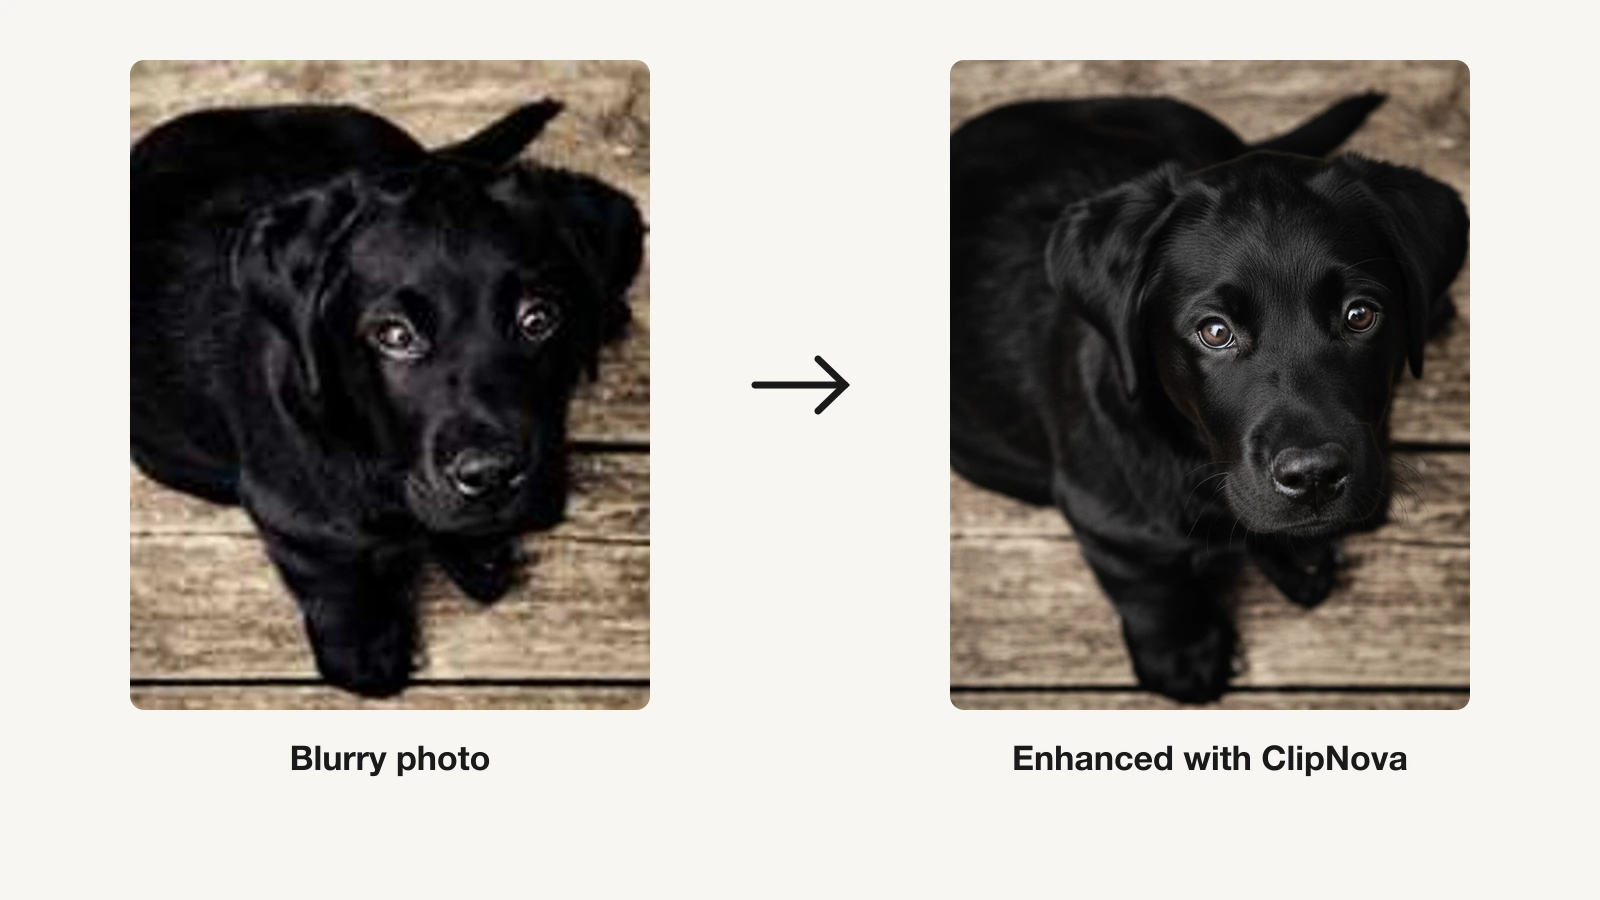
A pixelated photo is a photo that does not have enough pixels for the size it is being shown at. Zoom in on a small image, stretch a thumbnail across a banner, or forward a picture through a few messaging apps, and the smooth edges turn into visible blocks. The detail is not smeared, as it is in a blurry photo. It is simply missing.
That distinction matters, because it decides how you fix it. Sharpening a pixelated photo does nothing useful, since there is no edge information to sharpen. What works is generating the missing pixels, and in 2026 that means an AI upscaler. This guide explains what causes pixelation, which photos can be rescued, the exact steps to fix one with ClipNova, and the Photoshop and open-source alternatives if you would rather work offline.
Why photos get pixelated
Every digital image is a grid of pixels. When the grid is smaller than the space it fills on screen or paper, each pixel has to cover several screen pixels, and the grid becomes visible. Five things cause that in practice:
- Enlarging past the native size. A 600-pixel-wide photo shown at 2400 pixels has to stretch each pixel to cover 16 screen pixels. Blocks appear immediately.
- Heavy compression. Saving a JPEG at a low quality setting, or letting a platform recompress it, throws away fine detail and leaves 8x8 blocks and halos around edges.
- Screenshots and forwarded images. Screenshotting a photo captures it at screen resolution, and messaging apps often shrink images again before sending. After two or three hops, a 12-megapixel photo can arrive at 800 pixels wide.
- Cropping too far. Cutting a small region out of a photo and using it at full size is the same as enlarging it. A face cropped from a group shot is often only a few hundred pixels across.
- Old or low-resolution sources. Early phone cameras, scanned prints, web images from the 2000s, and small avatars simply never had many pixels to begin with.
Compression also brings a second problem: JPEG artifacts. These are the smudged, blocky halos around edges and text that survive even if you resize correctly. A good fix has to remove those as well as add resolution.
Which pixelated photos can be fixed
The honest answer is: most of them, to a point. An AI upscaler does not find hidden pixels. It has learned what faces, hair, fabric, text, foliage, and product edges look like, and it reconstructs plausible detail at the larger size. Three things decide how well that works.
- How much is left. A 600-pixel photo upscaled 4x looks photographic. A 60-pixel avatar upscaled 8x looks like a good painting of the person, because the model is inventing nearly everything.
- What is in the picture. Faces, product shots, landscapes, and illustrations reconstruct well. Small text, fine patterns, and crowds are harder, because a wrong guess is obvious.
- What else is wrong with it. Pixelation plus motion blur, or pixelation plus heavy noise, needs two passes: upscale first, then sharpen or denoise.
If you have any larger version of the photo, the original camera file, an email attachment, a cloud backup, start from that instead. Every method below works better the more pixels it has to begin with.
Method 1: Fix a pixelated photo with an AI upscaler (ClipNova)
This is the fastest route and the only one that adds real detail. ClipNova includes an AI Image Upscaler that enlarges any picture 2x, 4x, or 8x, rebuilding sharp faces, clean edges, and readable text while removing the compression artifacts that made the photo look blocky. You pick a style for photos, art, or anime, and the result downloads at up to 4K in seconds.

How it works in ClipNova
Here is the exact flow, using a pixelated photo of a tabby cat as the example:
- Sign up for the ClipNova app and pick a plan (from $19/mo).
- Go to AI Image Studio from the sidebar.
- Choose the AI Image Upscaler tool. It is the same tool as the AI image upscaler page on the site.
- Upload the pixelated photo as a JPG, PNG, or WebP. Use the largest version you have, not a screenshot of it.
- Pick the scale. 2x for social and web use, 4x for prints, listings, and thumbnails, 8x only for tiny sources.
- Pick the style that matches the image: photo for real photographs, art for illustrations and digital art, anime for line art. Faces and text get extra care automatically.
- Generate. The upscaled image is ready in seconds.
- Check the result at 100% zoom, then download it in full resolution.

If the photo is also soft or has motion blur, run the upscaled result through ClipNova's unblur image tool next. Upscaling first gives the sharpening pass more pixels to work with, so the edges come back clean instead of crunchy. Old black-and-white scans can also be colorized in the same studio once they are sharp.
The same engine handles very different inputs. An old faded snapshot, a supplier's tiny product thumbnail, and a low-resolution AI render each get their own kind of reconstruction, which is why choosing the right style matters.

Everything exports watermark-free with commercial rights on every plan, and plans start at $19 a month. The upscaler sits next to the rest of the suite, so a fixed photo can go straight into the image to video tool or an AI edit without leaving the app. For a comparison of upscalers from other vendors, see our roundup of the best AI image upscalers.
Method 2: Fix pixelation in Photoshop
Photoshop can reduce pixelation, and two of its features are worth knowing.
Image Size with Preserve Details 2.0. Open Image > Image Size, set the new width or height, and change the Resample menu to Preserve Details 2.0. Adjust the Reduce Noise slider to soften JPEG blocks. This is a smarter enlargement than the default bicubic option and keeps edges cleaner, but it does not invent texture, so a heavily pixelated face comes out smooth rather than detailed.
Super Resolution in Camera Raw. Open the image in Camera Raw (or Lightroom), right-click, and choose Enhance, then tick Super Resolution. It doubles the width and height using a machine-learning model, which is a genuine 4x increase in pixel count and a noticeably better result than resampling. It only runs once per image, so you cannot chain it for 8x.
After either step, apply a light Unsharp Mask (Filter > Sharpen > Unsharp Mask) at a small radius, around 0.8 to 1.2 pixels, and a modest amount. Stop as soon as halos appear along edges. Photoshop requires a Creative Cloud subscription, so it makes sense if you already have it rather than as a purchase just for this job.
Method 3: GIMP and phone apps for pixelated photos
If you would rather not add a subscription, the open-source editor GIMP is the realistic option.
GIMP. Open the image, go to Image > Scale Image, set the new size, and choose NoHalo or LoHalo as the interpolation method. Then apply Filters > Enhance > Unsharp Mask with a low radius. Like Photoshop's basic resampling, this hides the blocks but cannot bring back lost detail, so expect a smoother image rather than a sharper one.
Phone photo apps such as Snapseed and the built-in editors on iOS and Android have sharpen and detail sliders, but no real upscaling. They are fine for a mildly compressed image, and useless for a truly pixelated one.
Fixing pixelation by photo type
The right scale and style depend on what the image is.
- Old family photos and scans. Use photo style at 4x. Grain and faded color are fine; the upscaler treats them as texture. Colorize afterwards if the scan is black and white.
- Portraits and headshots. Photo style, 2x or 4x. Check the eyes and hairline at 100%, since these are where any reconstruction shows.
- Product photos from suppliers. Photo style at 4x. Clean edges and readable packaging text are the priority, and both benefit from the extra care the tool gives to text.
- Screenshots and text. Upscale at 2x first, then unblur. Small text is the hardest case, so keep the scale conservative.
- AI-generated images. Art style at 2x or 4x. Most image models output 1024 pixels or so, and a single upscale takes them to print resolution. Keep the source PNG, not a re-saved JPEG.
- Video thumbnails and social crops. 4x, then crop. Upload the result at twice the platform's display size so its own compression has room.
- Anime and illustrations. Anime style. Line art stays crisp and flat color does not turn into noise.
How to avoid pixelated photos next time
Fixing pixelation works, but not having to fix it is better.
- Keep the original. Store the full-resolution camera file and edit copies.
- Export at the size you will use, or larger. For a 1080-pixel Instagram post, export at 2160 pixels. For a printed 8x10 inch photo, aim for 2400 by 3000 pixels.
- Send files, not chat images. Attach the photo as a document, share a cloud link, or use email. Messaging apps shrink images by default.
- Never screenshot a photo you need. Download it instead.
- Crop with resolution in mind. If a crop leaves fewer than about 1000 pixels on the short side, upscale it before you use it.
- Save JPEGs at high quality. Use 90 or above, or use PNG for graphics and screenshots.
Common mistakes and how to fix them
- Sharpening a pixelated photo. Sharpening exaggerates the block edges. Upscale first, sharpen last, and lightly.
- Upscaling a screenshot of the photo. You have thrown away resolution before starting. Find the original file.
- Choosing 8x by default. Bigger is not better. The largest scale gives the model the most to invent, which shows up as plastic skin and invented texture. Pick the smallest scale that reaches your target size.
- Wrong style. Photo style on line art softens the lines, and anime style on a real face flattens the skin. Match the style to the source.
- Judging at fit-to-screen zoom. Everything looks sharp when shrunk. Check at 100% before you download.
- Re-saving as a low-quality JPEG. You have re-pixelated the fix. Save as PNG, or JPEG at 90 or higher.
How to choose your fix
1) How pixelated is it?
- Mildly blocky, mostly compression artifacts: any method works, including Photoshop or GIMP.
- Clearly low resolution, blocks visible at normal size: an AI upscaler is the only route to a photographic result.
- Tiny, under about 200 pixels: an AI upscaler at 4x, and accept that fine detail will be reconstructed rather than recovered.
2) What do you already have?
- A Photoshop subscription: try Super Resolution first, then an AI upscaler if faces still look smooth.
- Nothing: GIMP for mild blocking, or an AI upscaler plan (from $19/mo) for a photographic result.
- Dozens of images, such as a product catalog: an AI upscaler on a plan, since batch quality and speed matter more than the per-image cost.
3) Is it also blurry?
- Yes: upscale, then unblur. Doing it in the other order sharpens the blocks.
- No: upscale only, and stop.
Start with the largest source file you can find, choose the smallest scale that reaches your target, match the style to the image, and check the result at 100%. Following those four rules, most pixelated photos come back sharp enough to post, print, or sell in under a minute.
Frequently asked
Can a pixelated photo actually be fixed?
Usually, yes. A pixelated photo is a low-resolution photo, and an AI upscaler rebuilds the missing detail by predicting what the edges, textures, and faces should look like at a larger size. The result is not the original file, but for most photos it is sharp enough to post, print, or use in a listing. Extremely small images, such as a 40-pixel avatar, still come back soft.
What is the fastest way to fix a pixelated picture?
Upload it to an AI image upscaler, choose 2x or 4x, and download. In ClipNova you open AI Image Studio, pick AI Image Upscaler, drop in the file, choose the scale and a photo, art, or anime style, and the sharpened image is ready in seconds.
Why do my photos look pixelated?
The file has fewer pixels than the space it is being shown in. That happens when an image is enlarged past its native size, saved at a low quality setting, screenshotted, forwarded through messaging apps that compress it, or cropped down to a small region and then blown up again.
Can Photoshop fix pixelated images?
Partly. Image Size with the Preserve Details 2.0 resampling option enlarges with less blockiness, and Super Resolution in Camera Raw doubles the width and height using AI. Both are better than plain resizing, but a dedicated AI upscaler generally recovers more texture on faces and fine detail.
Is fixing pixelation the same as unblurring?
No. Pixelation is missing resolution, so the fix is to generate more pixels. Blur is detail that was smeared by focus or motion, so the fix is to sharpen and rebuild edges. Many photos have both problems, in which case upscale first and then unblur.
What size should I upscale a pixelated photo to?
Pick the smallest scale that reaches your target size. For social posts and web use, 2x is usually enough. For prints, product listings, and thumbnails that will be cropped, 4x. Use 8x only for tiny sources, and expect the result to look reconstructed rather than photographic.
How do I stop photos from getting pixelated in the first place?
Keep the original full-resolution file, export at the size it will be displayed at or larger, send photos as files rather than as chat images, and never enlarge a small crop. When a platform compresses images, upload at twice the display size so the compression has more detail to work with.